How to Choose Safety Glass Windows for Your Project?

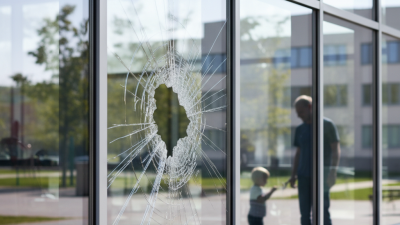
Choosing safety glass windows is not simply a matter of selecting thicker glass. It requires a careful reading of the project’s risks, occupants, climate, and daily use. A ground-floor window beside a busy walkway faces different hazards than a bathroom window or a high-rise balcony screen. Children, pets, furniture, doors, and narrow corridors can all change the specification.

Architectural glass consultant Mark Meshulam offers a useful reminder: “Glass is everywhere, yet it is often invisible until it breaks.” That observation should guide the design process. Tempered glass can break into smaller pieces, while laminated glass usually holds together after cracking. These products serve different purposes. Heat, impact, noise, security, and fall protection may also influence the final choice. The frame, edge support, fixing method, and installation quality matter too.

Look closely.

A reliable selection begins with a documented risk assessment. Confirm the required performance with a qualified glazing professional, and check the applicable local building requirements. Product labels and test records should be reviewed, not assumed. A beautiful window can still be unsuitable if its safety function is misunderstood. I have seen projects focus heavily on appearance, then treat glass specification as an afterthought. That is a costly weakness. Sometimes, the most practical choice is not the clearest or thinnest option. It may reduce glare, improve acoustic comfort, or provide better post-breakage protection. This guide explains how to compare safety glass windows with greater confidence, while recognizing that every project contains details worth questioning.
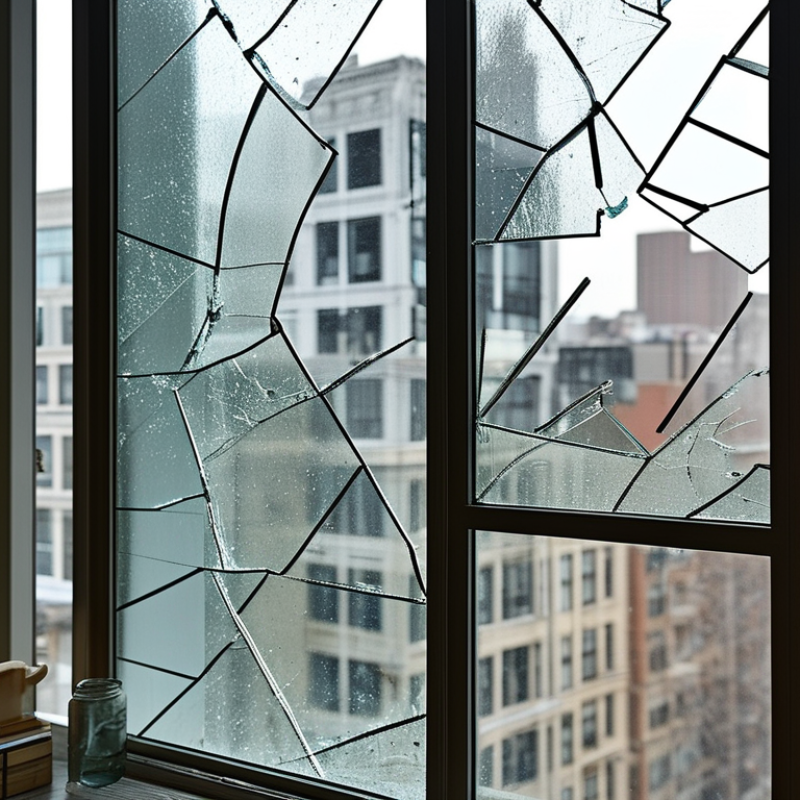
How to Choose Safety Glass Windows for Your Project?

Define Hazard Zones Using the 18-Inch Sill and 36-Inch Walking-Surface Rules

How to Choose Safety Glass Windows for Your Project?

Define Hazard Zones Using the 18-Inch Sill and 36-Inch Walking-Surface Rules

A window may look harmless until furniture, stairs, or a busy walkway changes the risk. During a site review, measure the lowest exposed glass edge from the finished floor, not the unfinished subfloor. If the edge is within 18 inches, treat the area as a potential hazardous glazing zone. This simple check often reveals risks hidden by trim or floor coverings.

Then inspect the walking surface around the window. A person can approach, fall, or strike glass within a 36-inch horizontal area from that surface. Include landings, steps, raised platforms, and frequently used paths. Do not measure only from the room center. People rarely move in perfectly straight lines.

Use safety glazing designed and tested for impact resistance when the location meets applicable hazard criteria. Confirm the product’s permanent safety marking and review the installation details with a qualified professional. Local building requirements may define these zones differently, or add rules for doors, bathrooms, sidelites, and large panels. Verify the current requirements before ordering.

A tape measure helps.

Still, measurements can be misleading. A thick rug may later be removed, changing the sill height. A new platform may also create a hazard zone. I have found that project drawings often miss these small changes. Recheck the glass after framing, flooring, and nearby fixtures are complete. That extra inspection may prevent an expensive replacement.

Compare Tempered Glass, Offering 4–5× the Strength of Annealed Glass

How to Choose Safety Glass Windows for Your Project?

When selecting safety glass, compare tempered glass with annealed glass under realistic conditions. Tempered glass typically offers four to five times the bending strength of annealed glass. This improvement comes from controlled heating and rapid cooling during manufacturing. I have seen it perform well near doors, low-level windows, and busy walkways where accidental impacts are more likely.

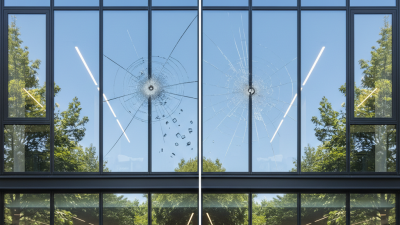
Tempered glass is not unbreakable. A sharp blow to an edge, especially during installation, can cause sudden failure. However, when it breaks, it usually crumbles into smaller, blunt-edged pieces instead of large, knife-like shards. That behavior can reduce injury risks. Annealed glass remains easier to cut and modify, but it breaks more easily and may form dangerous fragments. The choice depends on location, size, framing, and expected impact.

Check the panel edges carefully before installation. Small chips can become serious weaknesses later. Confirm the glass thickness, dimensions, and required safety performance with a qualified fabricator or installer. Local building requirements may also influence the decision. Tempered glass cannot be cut after treatment, so measurements must be accurate. I once underestimated the importance of hardware clearance, and the replacement delayed the project. That mistake was avoidable. For areas needing glass retention after breakage, laminated safety glass may deserve comparison alongside tempered glass.

Choose Laminated Glass for 99% UV Blocking and Fragment Retention

How to Choose Safety Glass Windows for Your Project?

Choose Laminated Glass for 99% UV Blocking and Fragment Retention

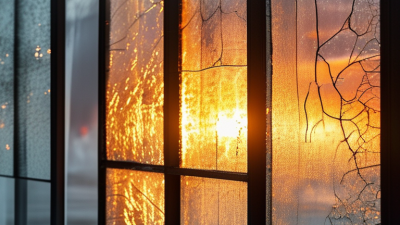
Laminated glass combines two glass panes with a clear, flexible interlayer. When impact breaks the glass, fragments usually remain attached to the interlayer. The window may crack like a spiderweb, but dangerous pieces are less likely to fall into a room. This feature matters near entrances, staircases, balconies, schools, and large low-level windows.

Many laminated glass options block up to 99% of ultraviolet radiation. However, do not treat that figure as automatic. Ask for the tested UV transmission value and confirm the interlayer specification. Strong UV control can help reduce fading on timber floors, rugs, artwork, and upholstered furniture near sunny windows. It also improves comfort beside bright glazing. The result depends on the complete glass build-up, not only the word “laminated.”

Project conditions should guide the final choice.

Consider wind exposure, human impact risk, pane size, sound control, heat gain, and frame compatibility. A thick pane is not always the best pane. I once saw a design focus heavily on appearance while overlooking edge protection and replacement access. That was a useful warning. Request independent test documents, installation guidance, and clear maintenance instructions. Check whether the selected product suits local construction requirements. Small details matter. A carefully specified laminated unit can protect people, preserve interiors, and perform more reliably for years.

Match Impact Resistance with EN 12600 Classes 1(B)1–3(C)3

How to Choose Safety Glass Windows for Your Project?

EN 12600 classes help match impact resistance with real conditions. The first number shows the test height: Class 1 equals 1,200 mm, Class 2 equals 450 mm, and Class 3 equals 190 mm. The letter identifies the impact body. B represents a soft body, while C represents a hard body. The final number describes the glass breakage pattern. Class 1 offers the most demanding performance in this part of the classification.

A busy entrance, low window, or glazed door may need 1(B)1, especially where a person could fall against the glass. Class 2(B)2 can suit areas with moderate impact exposure, but the surrounding layout still matters. Class 3(C)3 represents a lower test level and should not be chosen simply because it costs less. Small details matter. Check the glass size, frame support, edge protection, and installation quality. A certified pane can still perform poorly if its edges are damaged or its frame moves.

Do not confuse EN 12600 with security or fire testing. It measures pendulum impact and breakage behavior, not every project risk. I have found that drawings often list a class without explaining the expected impact type. That creates uncertainty. Review traffic patterns, furniture positions, children’s reach, and nearby floor drops with the designer or qualified installer. In practice, a higher class may be sensible, but over-specifying without checking the full assembly can waste money. Glass selection deserves a second look.

How to Choose Safety Glass Windows for Your Project?

Match the required impact resistance with the EN 12600 classification. The chart shows the standardized pendulum impact heights associated with the three impact levels.

Interpretation: EN 12600 impact levels are tested at 1,200 mm, 450 mm, and 190 mm. Classifications such as 1(B)1, 2(B)2, and 3(C)3 also include the observed breakage behavior. Select the class according to the building location, human-impact risk, and applicable project regulations.

Verify Thickness, Wind Loads, and Markings Under ANSI Z97.1 and ASTM E1300

Choosing safety glass windows starts with more than appearance. Verify the glass thickness against the opening size, support conditions, and expected wind pressure. A thicker pane is not automatically safer. ASTM E1300 evaluates glass load resistance using factors such as span, edge support, load duration, and design probability.

Measure carefully.

For wind-load review, record the building location, window dimensions, installation height, and frame configuration. Compare the required design pressure with the glass capacity shown in approved engineering data. Do not rely on a rough estimate from a previous project. Small changes in width, support, or pressure can alter the result significantly.

Markings matter, too. ANSI Z97.1 addresses safety glazing performance and helps confirm that the installed product has passed the required impact tests. Inspect each pane for a permanent, visible mark showing the applicable safety-glazing designation. The mark should remain readable after installation, not disappear behind a frame or coating. Check the certification details against the project documents and the standard edition required by local authorities. This step is often rushed, and that is a weakness. Field conditions may also differ from the drawings, so record any substitution before installation. A qualified glazing professional or structural engineer should review unusual sizes, high wind zones, sloped glazing, and unsupported edges. Safety depends on verified data, not guesswork.

How to Choose Safety Glass Windows for Your Project? - Verify Thickness, Wind Loads, and Markings Under ANSI Z97.1 and ASTM E1300

Glazing Option Common Nominal Thickness Safety Characteristic ANSI Z97.1 Verification ASTM E1300 Design Check Typical Selection Consideration
Fully Tempered Glass 4, 5, 6, 8, 10, or 12 mm
(approximately 5/32, 3/16, 1/4, 5/16, 3/8, or 1/2 in.)
Heat-treated glass with increased bending strength that breaks into relatively small particles when fractured. Confirm the product has passed the applicable impact test and is permanently marked as safety glazing where required by the project code. Use the applicable ASTM E1300 charts or calculation method for the actual lite size, support condition, load duration, and design load. Useful where post-breakage retention is not required and thermal or impact-strengthened glass is appropriate.
Laminated Safety Glass Two or more glass plies, commonly 6.38, 7.52, 8.76, or 11.52 mm overall A polymer interlayer holds fractured glass together and can provide improved post-breakage retention and sound control. Verify the complete laminated construction, including glass plies and interlayer, has the required impact classification. Evaluate the complete construction using the applicable laminated-glass provisions, actual dimensions, edge support, and design load. Often considered where glass retention after breakage, overhead glazing, or increased occupant protection is important.
Heat-Strengthened Glass 4, 5, 6, 8, 10, or 12 mm Thermally strengthened glass with greater strength than annealed glass, but it is not automatically safety glazing. Do not assume compliance. Confirm that the specific construction passes the required ANSI Z97.1 impact test. Check the design using the actual glass type and thickness; strength improvement does not replace the required design calculation. May be selected where reduced thermal-breakage risk or lower visual distortion is desired, subject to code requirements.
Insulating Glass Unit Example: 6 mm + 12 mm cavity + 6 mm Two or more panes separated by a sealed airspace or gas-filled space; each pane may be annealed, heat-strengthened, tempered, or laminated. Verify the safety classification of each pane that is located in a hazardous or human-impact area. Evaluate the individual panes and the unit configuration, including load sharing, cavity width, frame support, and design pressure. The insulating unit designation alone does not indicate safety-glazing compliance or wind-load capacity.
Monolithic Annealed Glass 3, 4, 5, 6, 8, 10, or 12 mm Basic glass that is not thermally or chemically strengthened and does not provide safety-glazing performance by itself. Do not specify for a safety-glazing location unless the exact product has independently demonstrated the required impact performance. ASTM E1300 load resistance is separate from impact-safety classification; both checks may be required. May be unsuitable for doors, sidelites, guards, or other locations where safety glazing is required by the applicable building code.

Wind-Load Screening Reference

Basic Wind Speed Approximate Speed Velocity Pressure q = 0.00256V² What Must Still Be Verified
90 mph 40.2 m/s 20.7 psf
(approximately 0.99 kPa)
Exposure category, height, topographic effects, directionality, enclosure classification, internal pressure, and positive or negative design pressure.
120 mph 53.6 m/s 36.9 psf
(approximately 1.77 kPa)
The calculated pressure is a preliminary velocity-pressure reference and is not a glazing capacity or final project design pressure.
140 mph 62.6 m/s 50.2 psf
(approximately 2.40 kPa)
Use the final project-specific design pressure with the actual glass dimensions, aspect ratio, edge supports, and load duration in the ASTM E1300 evaluation.

Required Verification and Marking Checklist

Verification Item Project Data to Record Acceptance Check Applicable Reference
Glass dimensions Visible width, visible height, overall lite size, aspect ratio, and thickness. Dimensions must match the tested or calculated product configuration. ASTM E1300
Support condition Four-sided support, two-sided support, point support, bite, setting blocks, and frame details. The calculation must use the actual boundary and edge-support condition. ASTM E1300
Design wind pressure Positive and negative pressures in psf or kPa, including applicable code coefficients. Calculated glass resistance must meet or exceed the governing project design pressure. ASTM E1300 and the adopted structural-wind standard
Impact classification Product type, construction, thickness, interlayer if applicable, and tested classification. The exact construction must meet the required ANSI Z97.1 impact class for the project location. ANSI Z97.1
Permanent safety mark Standard designation, impact classification where applicable, and manufacturer or fabricator identification required by the governing code. The mark must be legible, permanent, and traceable to the approved safety-glazing construction. ANSI Z97.1 and the applicable building and safety-glazing regulations
Standard limitation Separate records for impact safety and structural load resistance. ANSI Z97.1 impact compliance does not establish wind-load capacity, and ASTM E1300 load resistance does not establish impact-safety compliance. ANSI Z97.1 and ASTM E1300
Important: Nominal thickness alone cannot confirm safety-glazing compliance or wind-load performance. Final selection should be based on the exact glass construction, opening size, frame support, project design pressure, impact location, and the edition of the standards adopted by the authority having jurisdiction.